Things To Do In the Winter

flat550x550075f.jpg

If you are feeling a little cabin fever and want to get some fresh (cold!) air sometime this winter, there are still some things you could do for your garden to keep you busy! This list of good ideas is from Paghat's Garden. There is some good stuff here!

  1. Work on a website about the garden.
     
  2. There are bound to be a couple of weedy areas that have never been planted. After a heavy rainfall the remaining weeds pull loose with great ease & the soil is easily turned over with some compost to get a head start on spring. Sometimes I just turn sod or an ungardened weedy area upside down, put a covering of newspapers or cardboard over the top so that the grass & weeds will not grow back, & cover the newspaper with a topcoating of well-cooked compost. By spring it's ready to plant.
     
  3. Move portions of developing leafmold from areas where trees dropped a bazillion leaves, to areas that didn't get many leaves & can benefit from a topcoating of leafmold.
     
  4. Visit nurseries which cater to people with ponds & check out the bog & aquatic plants. Sure it's the wrong season & there won't be much. But if you are interested to find out what few pond & bog things are actually evergreen, now's the time. This has given me a new respect for rushes.
     
  5. Also visit nurseries with lots of shrubs & trees to assess winter appearance of sundry plants. If you've been the sort who buys only in spring or on the basis of fully leafed & flowering items, you may end up with gardens not so interesting in winter with too many annuals that vanished entirely, perennials that died to the ground, & brittle twiggy shrubs that look puny & dull without their leaves. Assessing for shape of limbs when leafless, for aesthetic quality of the barks, limb & twig coloration, finding out more about plants that look deciduous but are actually semi-evergreen or evergreen, & noting how some shrubs like Pink Dawn Viburnum or Witchhazel or Cornellian Cherry are in full bloom in the wintertime, is worth knowing so that as you develop your gardens during the coming year you'll be including things that make the garden a big thrill in winter too. The illustration above, for example, is a detail of our Corkscrew Filbert in early March, all a-dangle with the catkins it has sported in full bloom since December (& as hard catkin buds earlier than that) -- so with its bared windy limbs & its wonderful golden chains, winter's truly it's best season! With knowledge of winter appearances fresh in mind, assess your own primary gardening areas that are favorites in spring through fall, to figure out what you can add or do that will make them favorites in winter too.
     
  6. Read. Research things you either already have but don't know enough about, or which you think you might want in the future, or even research to find out about the botanists for whom your favorite plants are named. Just as stamp collectors are exposed to geography & history lessons by what they've accumulated, so too can gardeners learn about the geography & weather patterns of their favorite plants' original homelands & the biographies of those frequently adventuresome botanists who risked their lives in the Himalayas or Darkest Africa or Pacific islands or Tasmania all for love of flora.
     
  7. Dig a compost trench.
     
  8. Repair arbors & trellises while growth is minimal & plants won't be upset.
     
  9. Buy some year-end bulbs for half-price or less & don't worry that it's a bit late in the year to plant them, they'll do just fine.
     
  10. Organize shelving areas in front of windows to best display houseplants. Get rid of ugly drapes that were never closed anyway. Reinforce the curtain rod for hanging baskets.
     
  11. Place rocks in aesthetically strategic locations & move in soil behind or between the rocks, or prep for raised beds, in order to be ready for new planting at the first hint of spring.
     
  12. Transplant shrubs which will resettle best in autumn or (in temperate zones) in winter. Moved shrubs will "awaken" in spring far less shocked, barely realizing they're in a new spot.
     
  13. Get out the step-ladder & tie back select limbs that had grown awfully in the way of paths, so that they won't be in the way when leaves return in spring. When in full leaf it's much harder to tell what can be bound back to where, so winter's the time.
     
  14. Look at sky through naked limbs, very pretty.
     
  15. Appreciate mosses & lichens on branches which are not visible when trees & large bushes are fully leafed.
     
  16. Enjoy also the fewer but still marvelous winter-blooming perennials you carefully researched & scattered throughout your garden. These will include autumn-bloomers that are still blooming in winter such as kaffir lilies, spring bloomers that actually get such a jump on spring that really they are winter bloomers, such as so many crocus species; & of course the true winter bloomers like hardy evergreen primroses or Cyclamens.
     
  17. When thinking of potential winter bloomers for your garden, include in the idea of "blooms" the colorful berries that decorate many types of shrubs & trees through the winter. There can be the black berries of Japanese Holly, red berries of cotoneasters, Hawthorns, English holly, lingonberries, wintergreen & white snowberries, there are so many choices that there's just no reason to be without vibrant colors amidst winter shrubbery.
     
  18. Visit pottery studios & nurseries on quest for a big fancy-ass containers that'd make pleasing "forest bowls" that can be partially recessed into ground to create another bog spot, in preparation to obtain skunk-cabbages or pitcher plants or other semi-aquatics.
     
  19. Dig up & compost plants that were huge mistakes either because butt ugly or because they turned out to be invasive. It's kinder to kill them in their sleep.
     
  20. Some closed-in or hillside deeply planted areas are most of the year so thickly leafed with shrubs & trees & understory plants that they can only be accessed & assessed after leaves have fallen & even then it's a squeeze. Check for erosion areas, rock placement to negate possibility of erosion, cart in dirt & humus where needed, or remove excess accumulations of fallen leaves & needles & do general clean-up. Figure out underlimbing or pruning schedule if any pruning is apt to be needed.
     
  21. Gaze longingly at the spot that is perfect for a greenhouse & whimper that you don't have one.
     
  22. Keep feeding the birds.

4 Egg Recipes to Try This Thanksgiving

As we are all well aware, Thanksgiving is next Thursday!! Do you already have your menu planned? Or are you trying to decide what to make to bring over to your in laws? Well, if you still need some inspiration, here are some recipes I think I might try with our own farm fresh eggs.


First - the classic with a spin. The Deviled Egg. I find it rare when these are not a hit. Imagine if you add some bacon and cheddar cheese to it. You are probably going to make extras because they are going to go fast!

Bacon and Cheddar Deviled Eggs

Time to make: 45 minutes
Makes 8-10 servings (you're probably gonna want to triple this if you're going to a big party with big eaters)

Ingredients

  • 12 eggs
  • 6 tablespoons mayonnaise
  • 2 teaspoons Dijon mustard
  • 4 teaspoons rendered bacon fat (optional)
  • 2 teaspoons cider vinegar
  • 2 teaspoons finely chopped fresh thyme leaves
  • Kosher salt
  • Freshly ground black pepper
  • Crumbled bacon, for garnish (optional)
  • Crumbled Fiscalini bandage-wrapped cheddar, for garnish (optional)

Instructions

  1. Hard-boil the eggs; cool, peel, and halve them; and carefully remove the yolks. Reserve the whites.
  2. Combine the egg yolks, mayonnaise, mustard, bacon fat (if using), vinegar, and thyme in a medium, nonreactive bowl. Season well with salt and pepper, then mix well until the yolks are broken up and the ingredients are evenly incorporated.
  3. Evenly pipe or spoon the yolk mixture into the reserved egg white halves. As desired, top with crumbled bacon and crumbled Fiscalini bandage-wrapped cheddar.

Source: http://www.chow.com/recipes/26659-bacon-and-cheddar-deviled-eggs


Next, a seasonal inspired quiche. Apples and Brie - these will make you feel like you are having dessert before dinner.

Mini Brie and Apple Quiches

Makes 30 mini quiches

Ingredients

  • 30 mini phyllo shells (two 1.9-ounce packages)
  • ½ medium apple, peeled and finely diced
  • 5 large eggs
  • 1 teaspoon Dijon mustard
  • ¼ teaspoon salt
  • 1 pinch of freshly ground pepper
  • 1 pinch of ground nutmeg
  • 4 ounces Brie (1/2 small wheel), cut into 30 squares

Preparation

  1. Preheat oven to 350 degrees Fahrenheit. Arrange phyllo shells on a large parchment-lined baking sheet. Divide apple among the shells.

  2. Whisk eggs, mustard, salt, pepper and nutmeg in a large measuring cup. Pour the egg mixture over the apple (do not overfill the shells). Place a Brie square in each shell.

  3. Bake until the egg is set, the Brie is melted and the phyllo is starting to brown around the edges, about 15 minutes. Let cool slightly before serving.

Source: http://www.nytimes.com/projects/well/vegetarian-recipes/#recipe/mini-brie-and-apple-quiches


For the main event (I am not talking about the turkey) - dessert! Pumpkin Cranberry Bread Pudding - and this does not look like my Great-Great Aunt Betty's bread pudding either (may she rest in peace).

Pumpkin Cranberry Bread Pudding

Makes 8 servings. Prep: 15 min. Cook: 3 hours

Ingredients

  •  8 slices cinnamon bread, cut into 1-inch cubes

  • 4 eggs, beaten

  • 2 cups 2% milk

  • 1 cup canned pumpkin

  • 1/4 cup packed brown sugar

  • 1/4 cup butter, melted

  • 1 teaspoon McCormick® Pure Vanilla Extract

  • 1/2 teaspoon ground cinnamon

  • 1/4 teaspoon ground nutmeg

  • 1/2 cup dried cranberries

 SAUCE:

  • 1 cup sugar

  • 2/3 cup water

  •  1 cup heavy whipping cream

  • 2 teaspoons McCormick® Pure Vanilla Extract

Directions

  • Place bread in a greased 3- or 4-qt. slow cooker. In a large bowl, combine the eggs, milk, pumpkin, brown sugar, butter, vanilla, cinnamon and nutmeg; stir in cranberries. Pour over bread cubes. Cover and cook on low for 3-4 hours or until a knife inserted near the center comes out clean.
  • For sauce, in a large saucepan, bring sugar and water to a boil over medium heat. Cook until sugar is dissolved and mixture turns a golden amber color, about 20 minutes. Gradually stir in cream until smooth. Remove from the heat; stir in vanilla. Serve warm with bread pudding. Yield: 8 servings (1-1/3 cups sauce).

Source: http://www.tasteofhome.com/recipes/pumpkin-cranberry-bread-pudding


When all is said and gobbled- eh done (I'm so funny), you might find yourself as one of the lucky ones to have left over turkey - or in my case, my mom or my mother in law will send me home with a ton of left over turkey. Of course I am going to make the traditional turkey, stuffing, gravy, cranberry sauce sandwich on some sort of soft whole wheat bread - but maybe this year I am going to give this hearty thanksgiving leftover breakfast a try.

Turkey Hash With Fried Eggs

Makes 4 serving. Time to prep: 25 minutes. Times to cook: 25 minutes.

Ingredients

  • 3 tablespoons olive oil
  • 3/4 pound red potatoes, diced
  • 1 onion, chopped
  • 1 red bell pepper, chopped
  • kosher salt and black pepper
  • 1 cup diced roasted turkey or chicken
  • 1/4 cup chopped fresh parsley
  • 8 large eggs

Directions

  1. Heat 2 tablespoons of the oil in a large skillet over medium heat.
  2. Add the potatoes, onion, bell pepper, ½ teaspoon salt, and ¼ teaspoon pepper. Cook, stirring occasionally, until tender and golden brown, 12 to 15 minutes.
  3. Stir in the turkey and parsley and cook, stirring occasionally, until heated through, about 3 minutes.
  4. Meanwhile, heat the remaining tablespoon of oil in a large nonstick skillet over medium heat.
  5. Working in 2 batches, crack the eggs into the pan and cook, covered, to the desired doneness, 2 to 4 minutes for slightly runny sunny-side-up eggs. Serve with the hash.

Source: http://www.realsimple.com/food-recipes/browse-all-recipes/turkey-hash-with-fried-eggs-recipe

Lisa Harvests and Jars the Honey from Our Bees

On Friday I had the pleasure to observe how honey is jarred and took lots of pictures to get your mouths watering with excitement for when we get to sell them in our new soon-to-be-built retail shop this spring! With the smell of freshly harvested honey drifting through the air I couldn't wait to get my own jar home and put an extra tablespoon (or two!) in my tea - which was delicious!

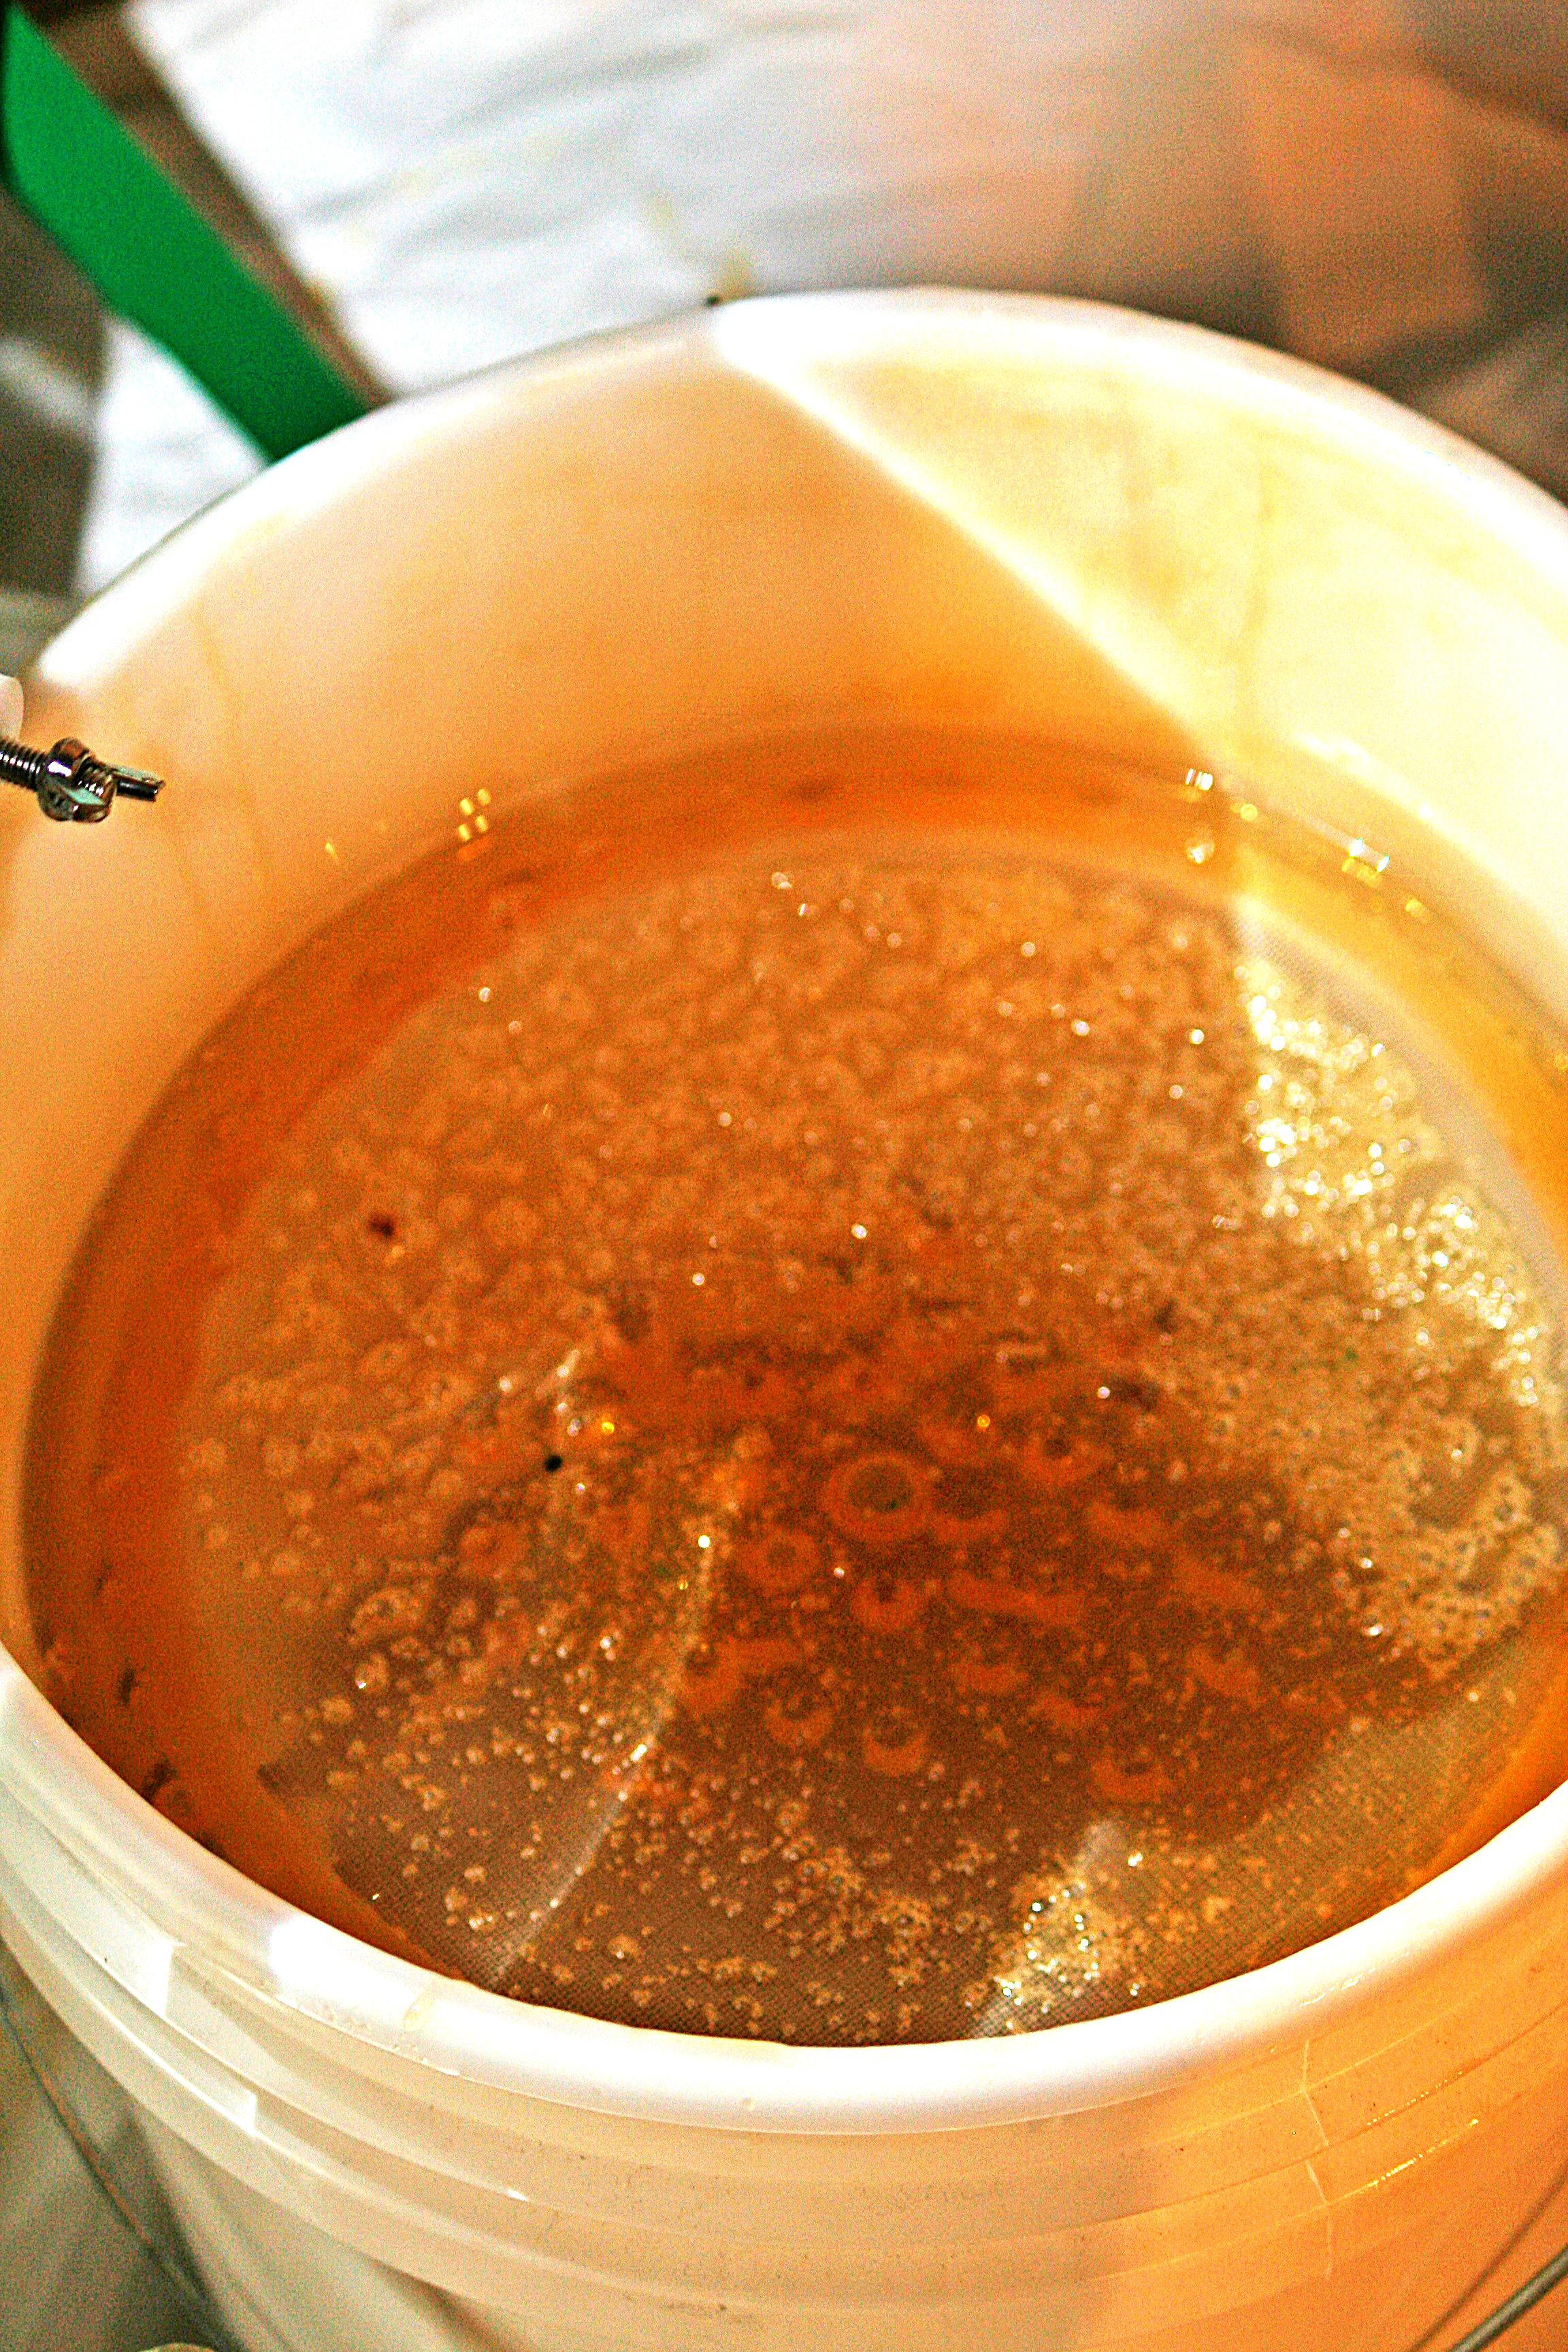
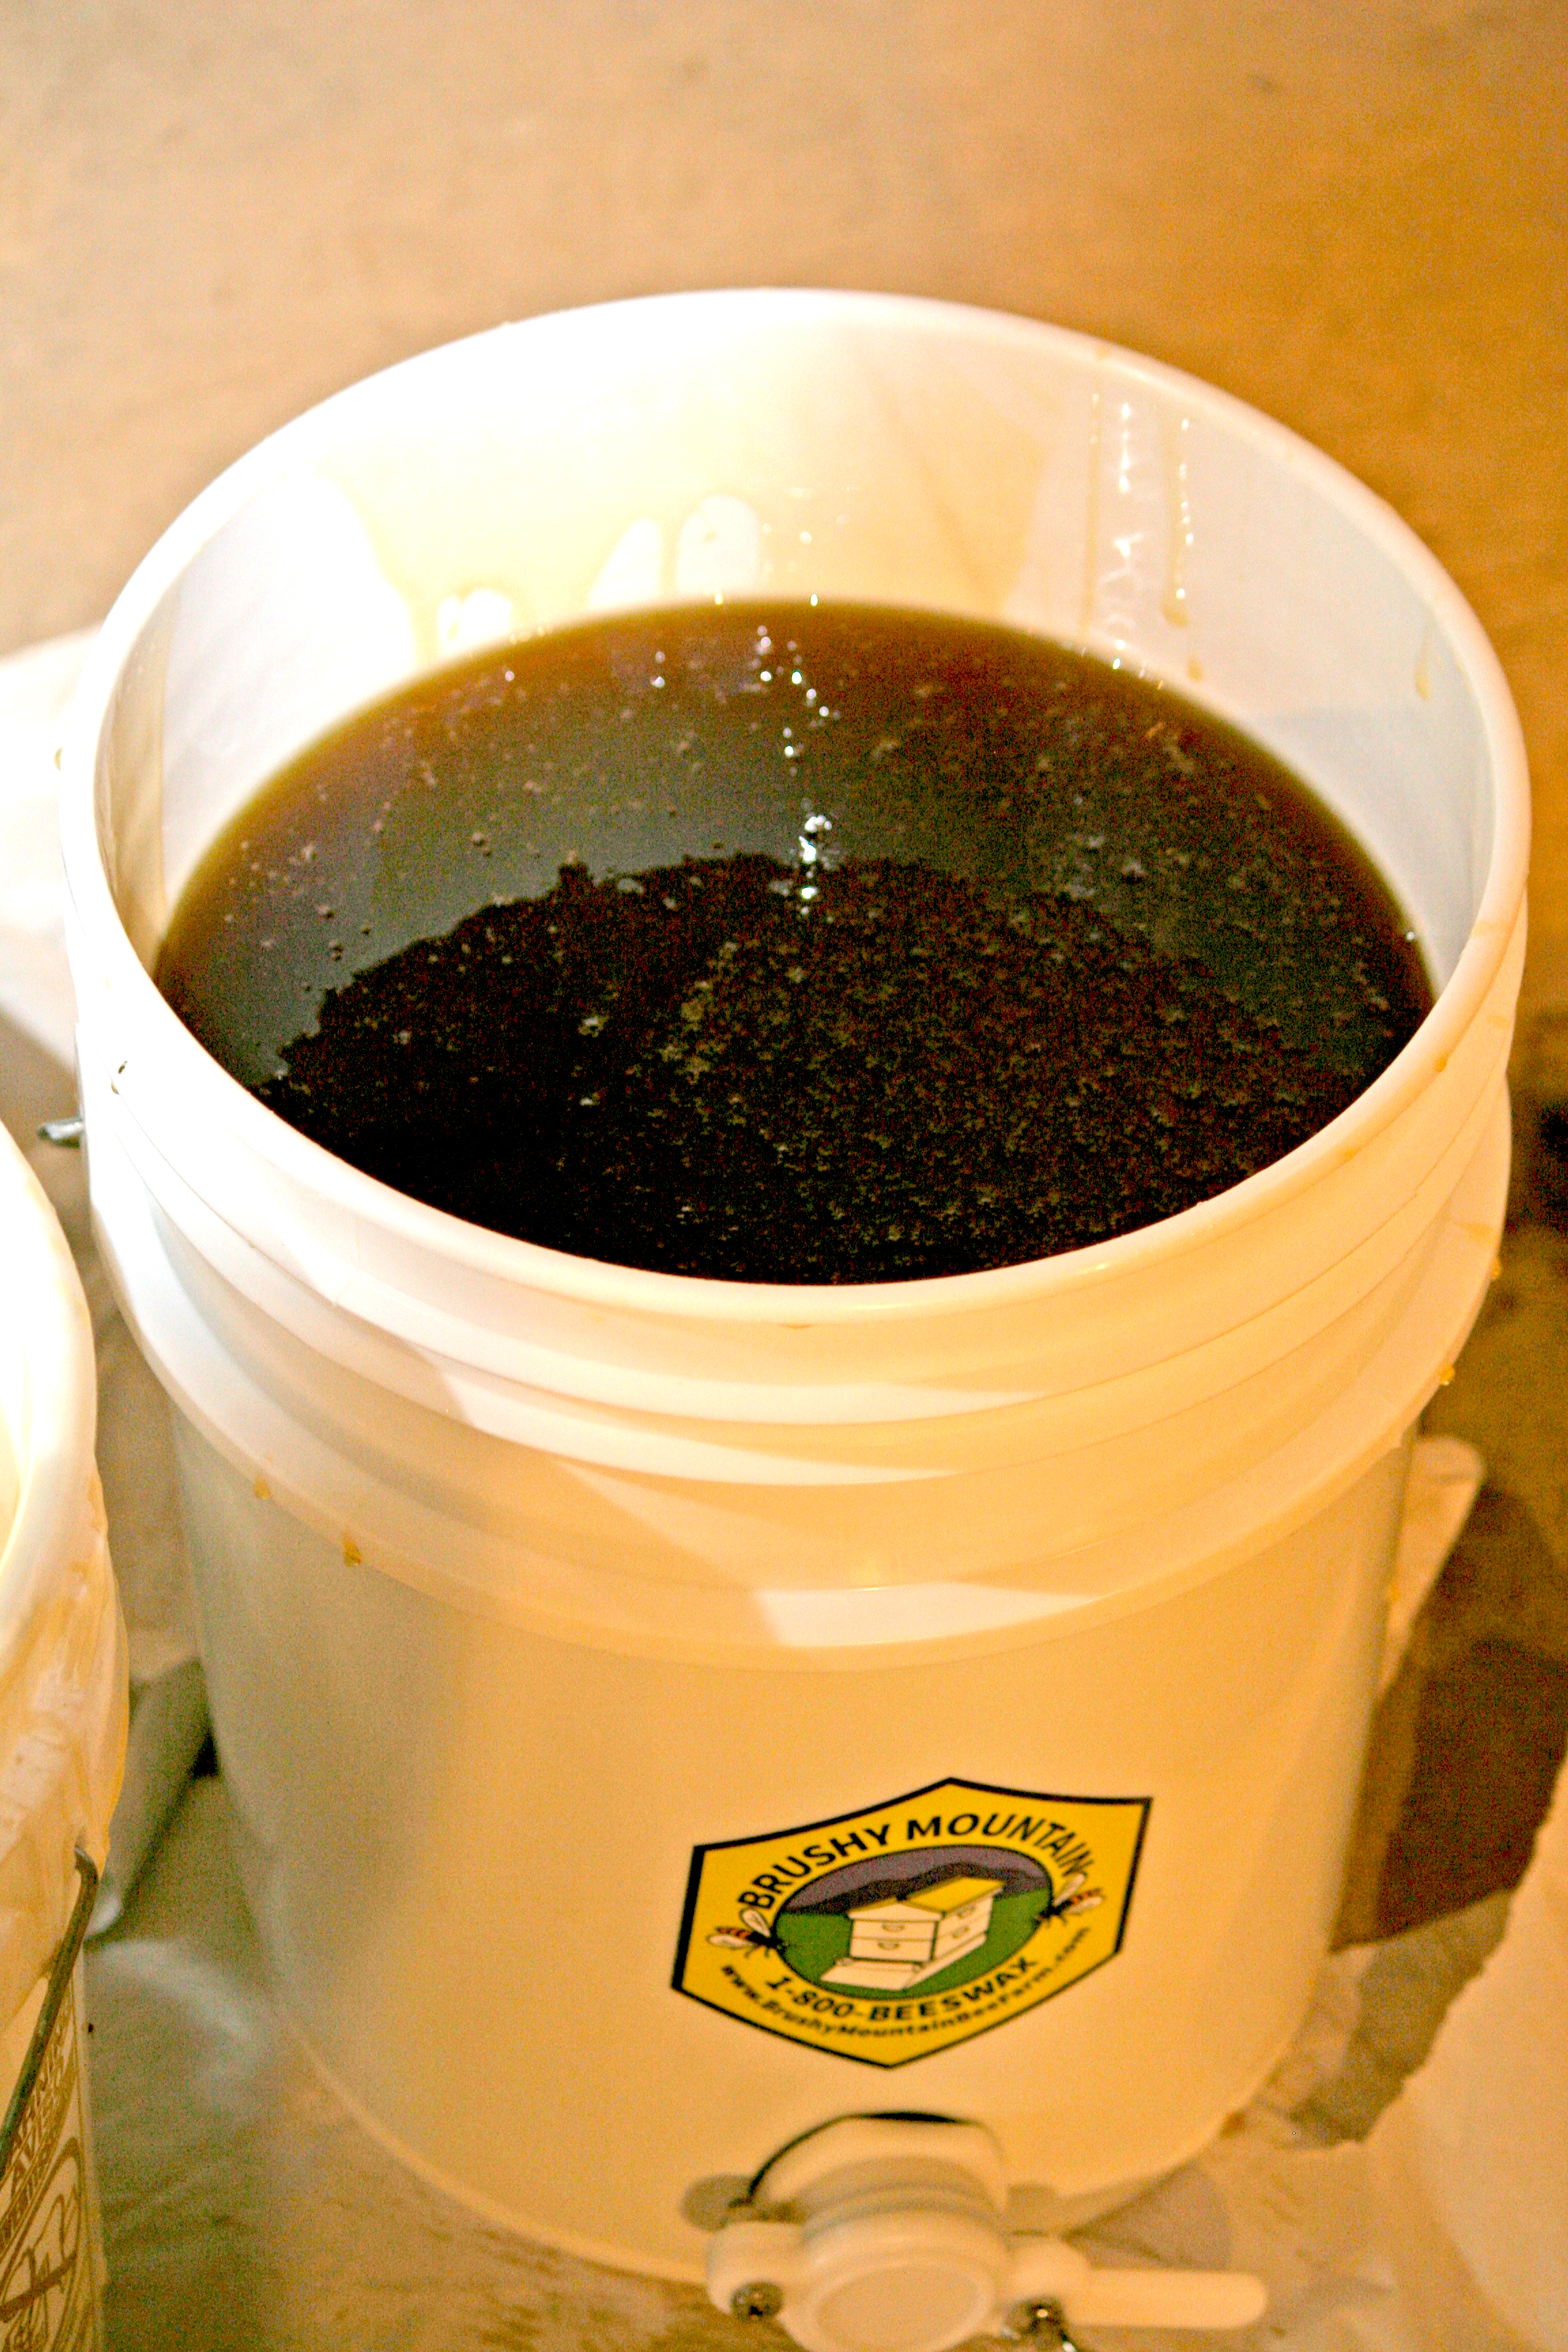
Step one is to churn the honey out through a centrifuge and strain it to remove any debris.

IMG_3621.jpg
IMG_3617.jpg
IMG_3619.jpg
IMG_3619.jpg
IMG_3620.jpg

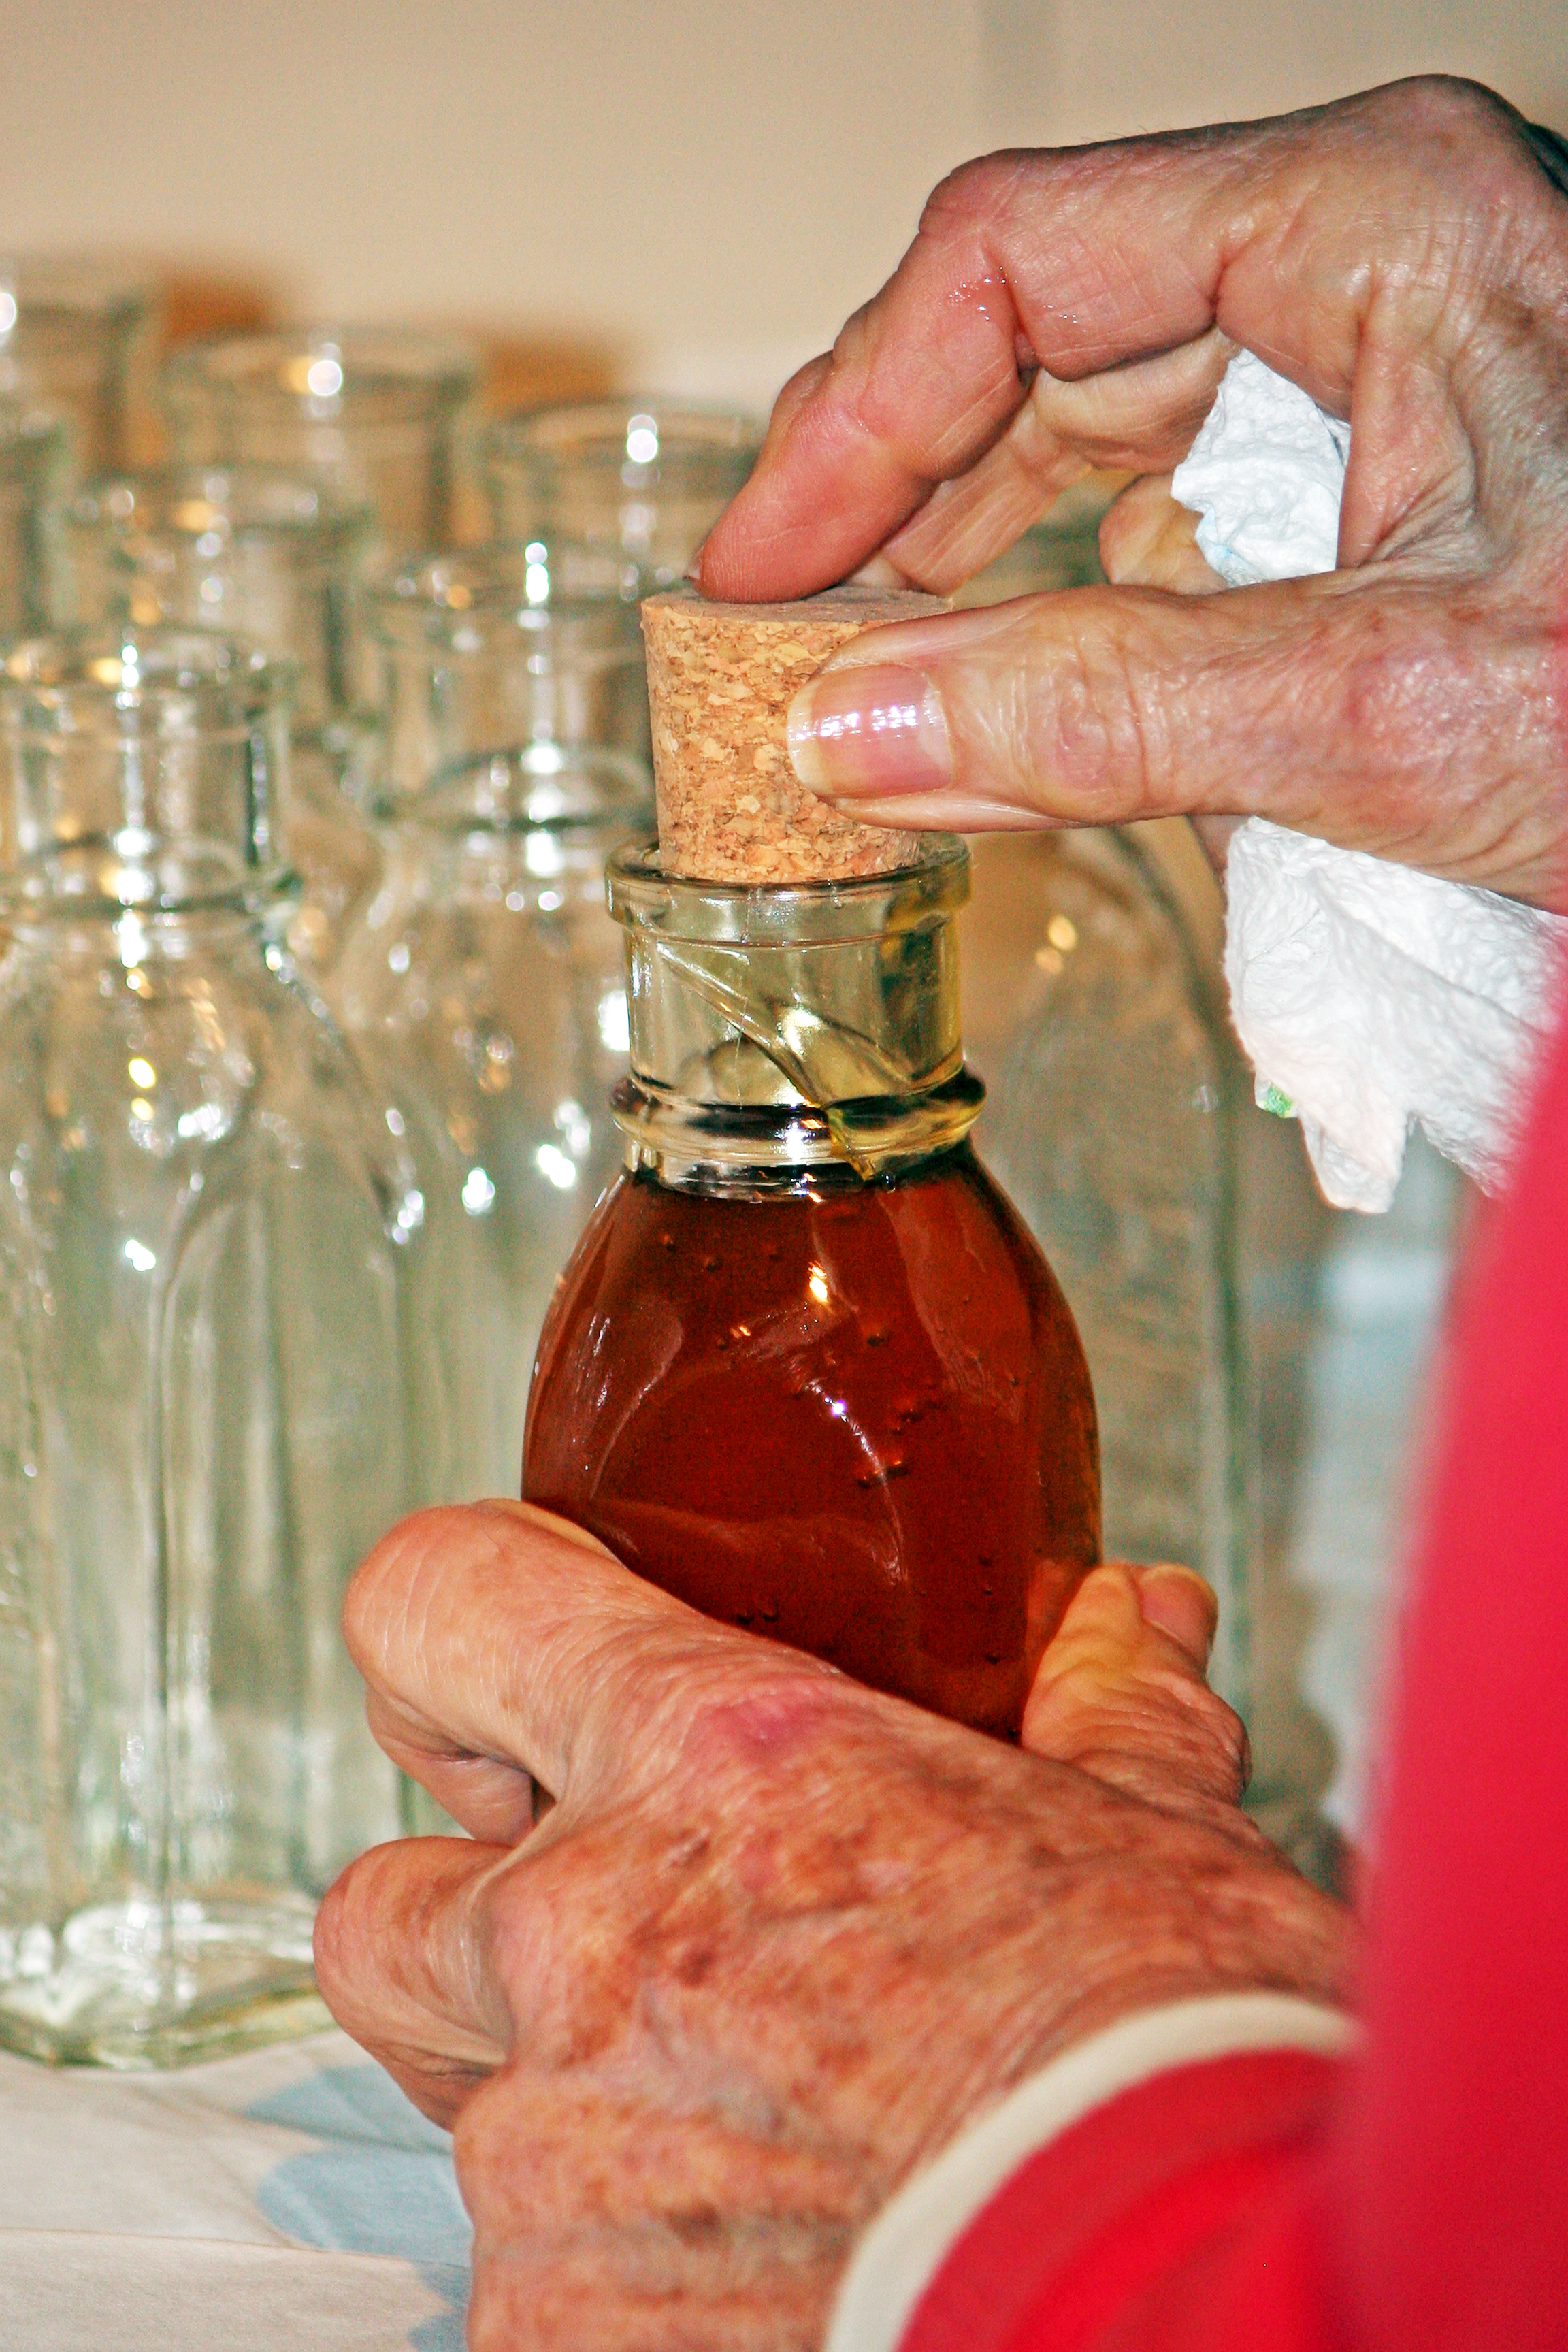
Next its time for bottling - a process that requires a lot of patience, a steady hand and a tolerance for getting sticky!

1. Pour

1. Pour

2. Cork

2. Cork

3. Voila!

3. Voila!

Keep going until the honey runs out or you have no more jars!!